Protecting Columbus & surrounding communities for 20 yearsLET’S TALK   706-405-8869

HOMEOWNER GUIDE / SHINGLE ROOFING

Understand shingle roofing.

What the parts do, what the terms mean and what to ask before work begins.

← All homeowner guides
01

Decking

The wood surface beneath the roof covering. Ask how damaged sections are documented and priced after tear-off.

02

Underlayment

A layer between the deck and shingles. Ask which product is specified and where additional water protection is needed.

03

Starter shingles

The starter course at roof edges, separate from the visible field shingles. Confirm the accessories specified for the chosen system.

04

Drip edge

Metal at the roof perimeter that helps direct water away from exposed edges. Discuss its relationship to the gutters.

05

Flashing & pipe boots

Details that manage water where the roof meets walls, pipes and other interruptions. Ask which pieces will be replaced.

06

Ridge cap & ventilation

Ridge cap covers the roof peak. A ridge vent, where suitable, provides exhaust and needs a coordinated intake path.

SEE HOW THE PARTS FIT TOGETHER

A roof is more than shingles.

Use these manufacturer illustrations to connect the words in your estimate with their location on a roof. Select either diagram to open a larger view.

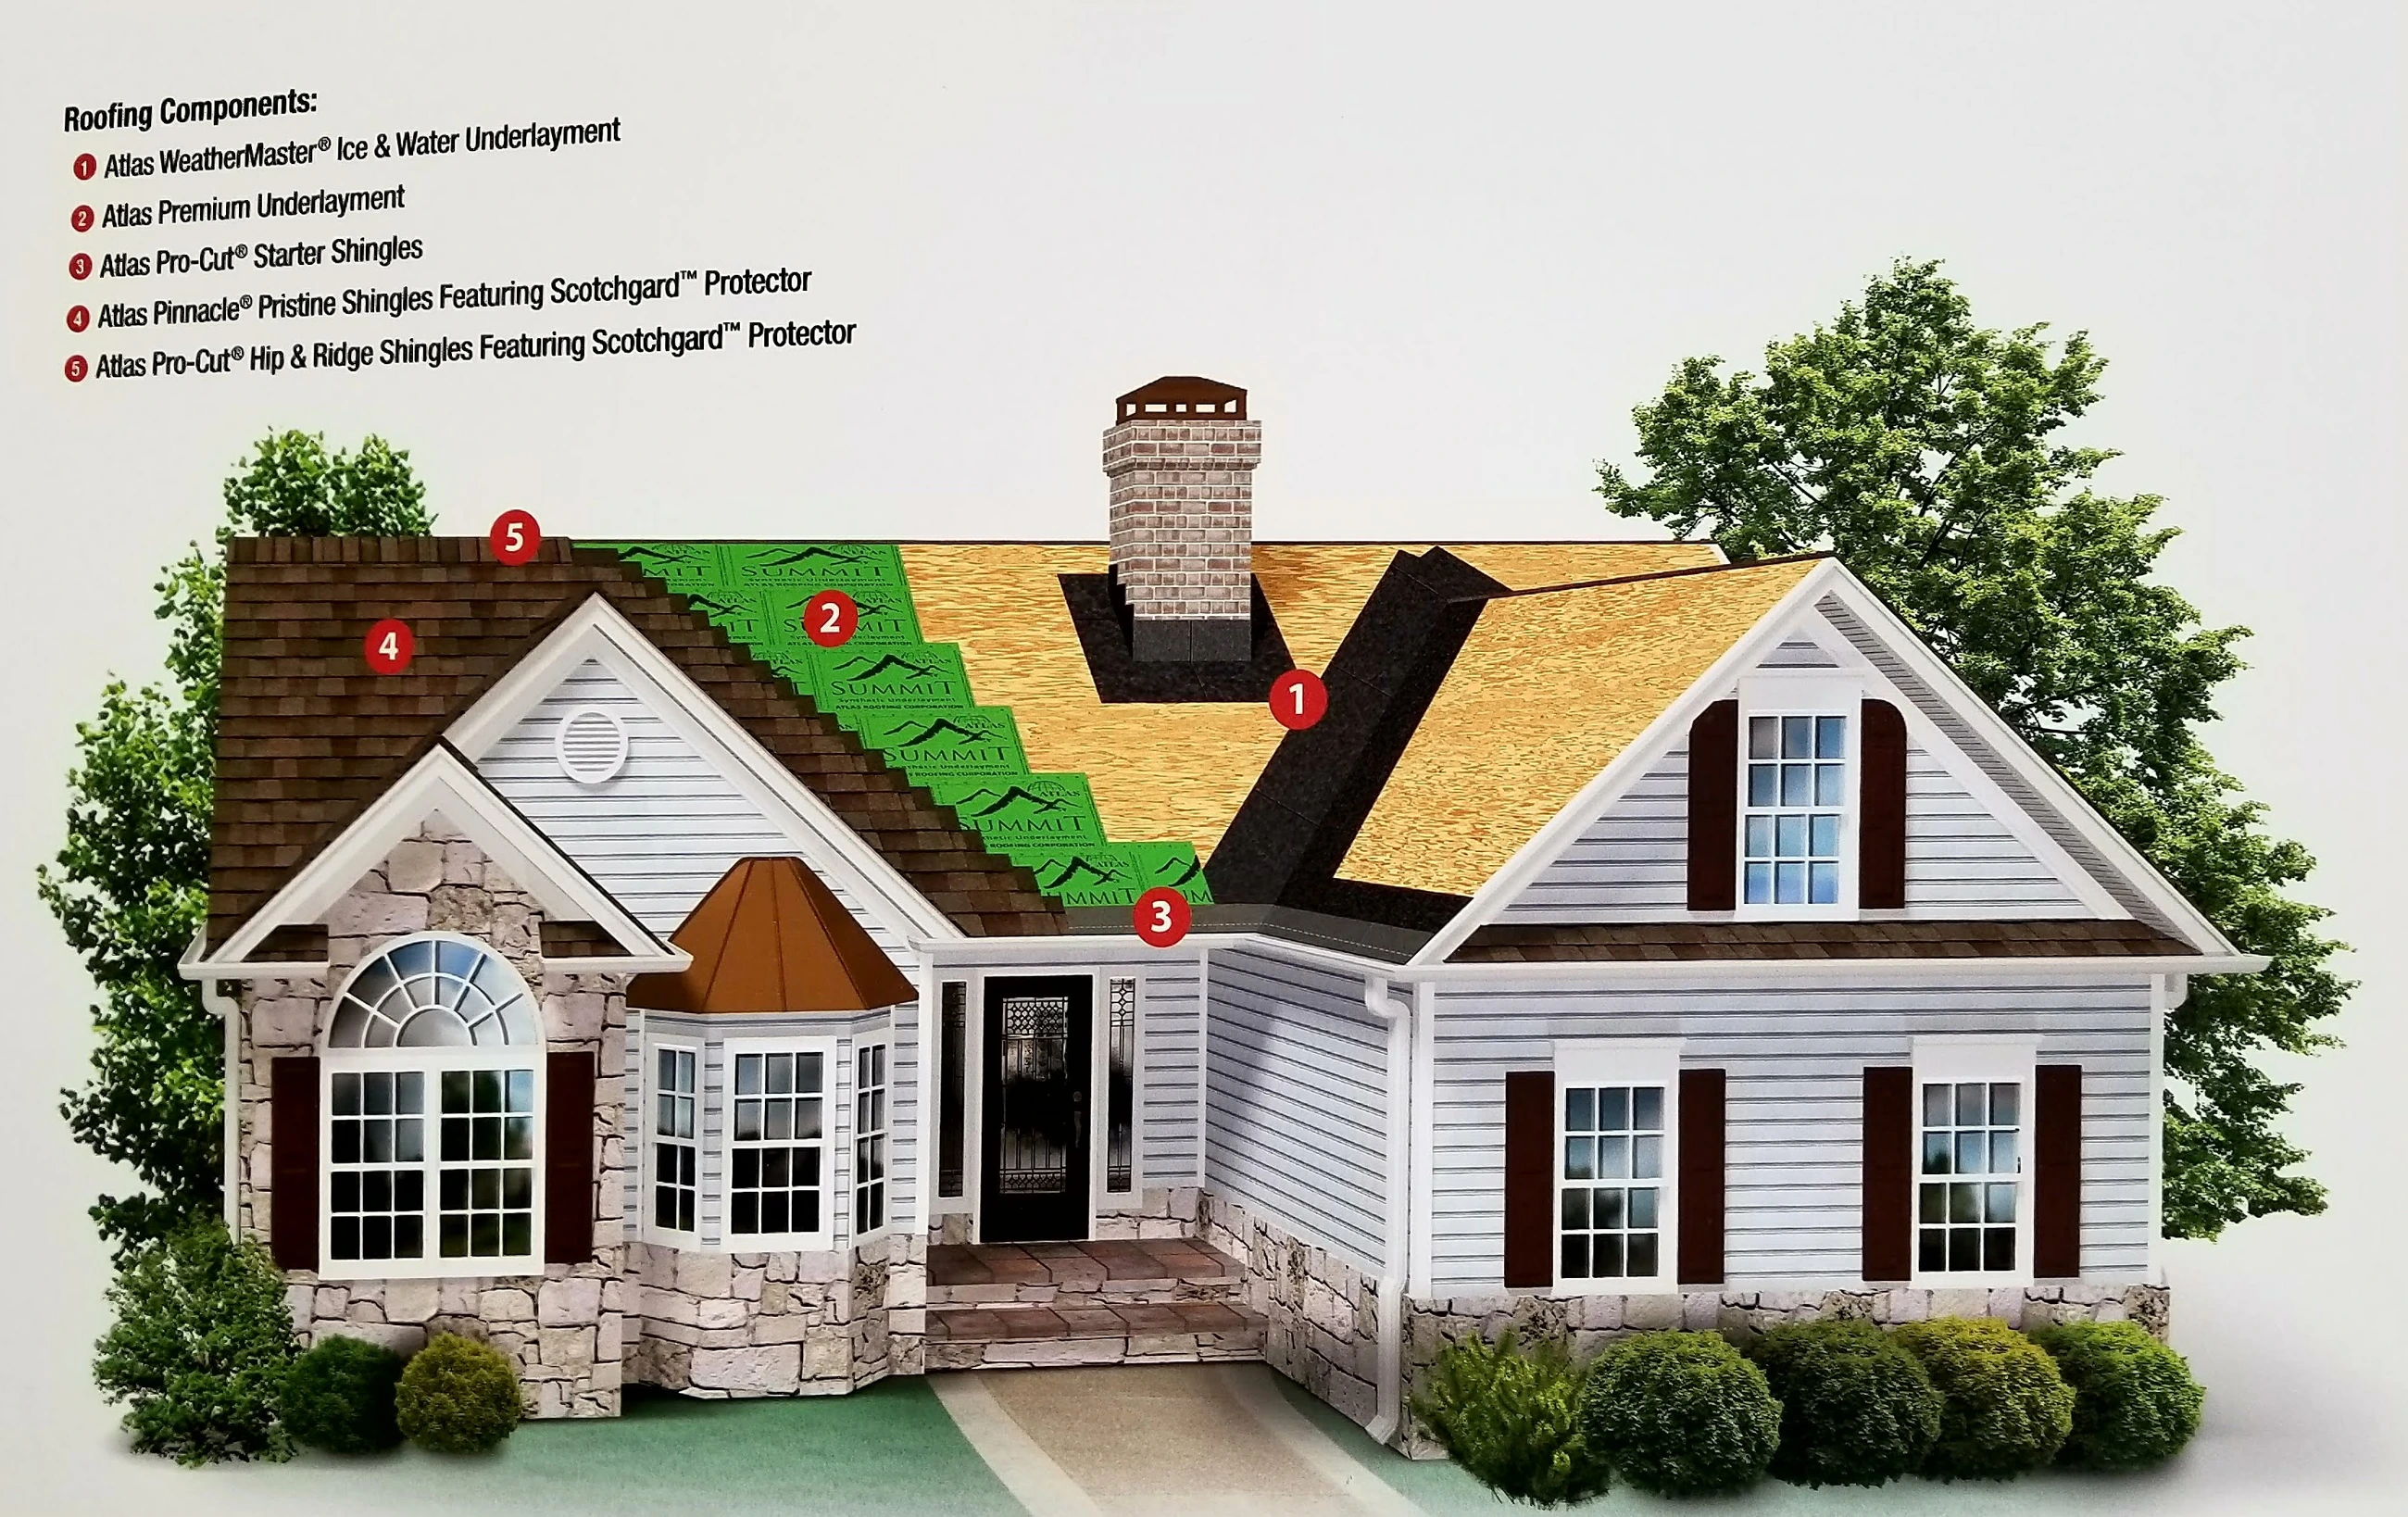
Atlas cutaway roof diagram showing numbered underlayment, starter, shingle and ridge components

Atlas roof system components

Enlarge the Atlas diagram ↗
  1. Ice & water underlaymentAtlas WeatherMaster is the waterproofing underlayment labeled 1 at selected vulnerable areas.
  2. UnderlaymentThe green layer labeled 2 lies over the wood deck beneath the shingles.
  3. Starter shinglesLabel 3 identifies the starter course at the roof edge.
  4. Field shinglesLabel 4 shows the primary shingle covering; the diagram names Pinnacle Pristine.
  5. Hip & ridge shinglesLabel 5 identifies the finishing shingles over the roof peak.
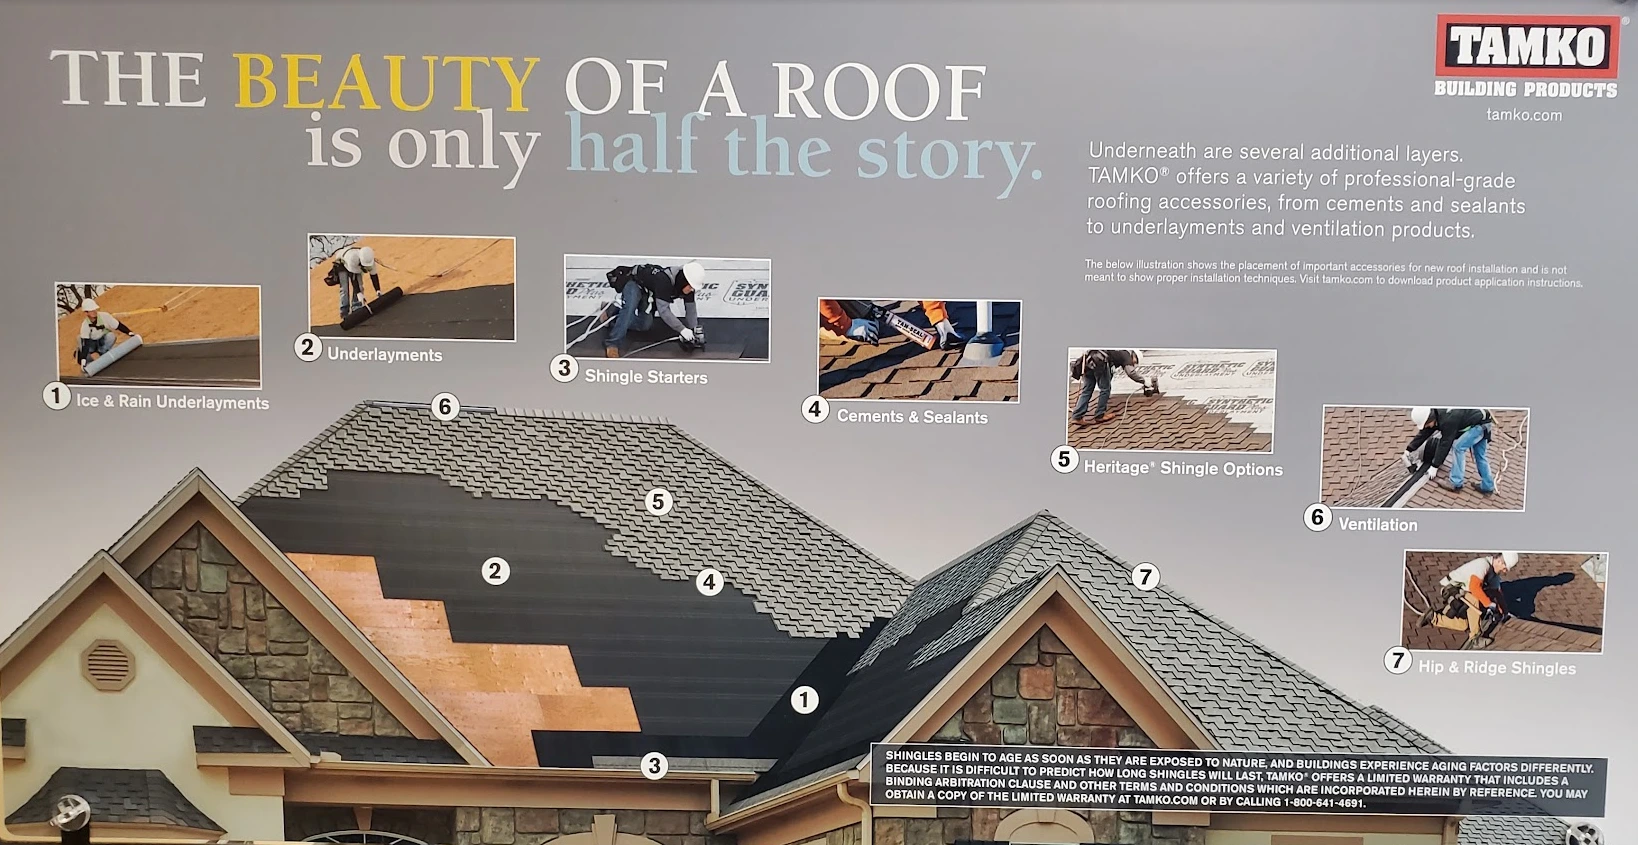
TAMKO cutaway roof diagram showing numbered underlayment, starter, shingle and ridge components

TAMKO roof system components

Enlarge the TAMKO diagram ↗
  1. Ice & rain underlaymentsLabel 1 shows additional water protection in selected areas.
  2. UnderlaymentsLabel 2 shows the layer between decking and shingles.
  3. Shingle startersLabel 3 marks the starting course at the roof edge.
  4. Cements & sealantsLabel 4 identifies accessory materials used where the product instructions call for them.
  5. Shingle optionsLabel 5 identifies the visible field shingles, shown here as Heritage.
  6. VentilationLabel 6 identifies the ridge ventilation detail. Intake and exhaust must be considered together.
  7. Hip & ridge shinglesLabel 7 identifies the caps used to finish hips and ridges.

Manufacturer diagrams supplied by Weather Shielders. Product names and illustrations are retained for reference; these are not project photos or complete installation instructions. Your proposal and the selected manufacturer’s current requirements determine the actual products, details and warranty coverage.

Further reading: GAF’s guide to roofing components. Confirm the requirements of the product selected for your home.

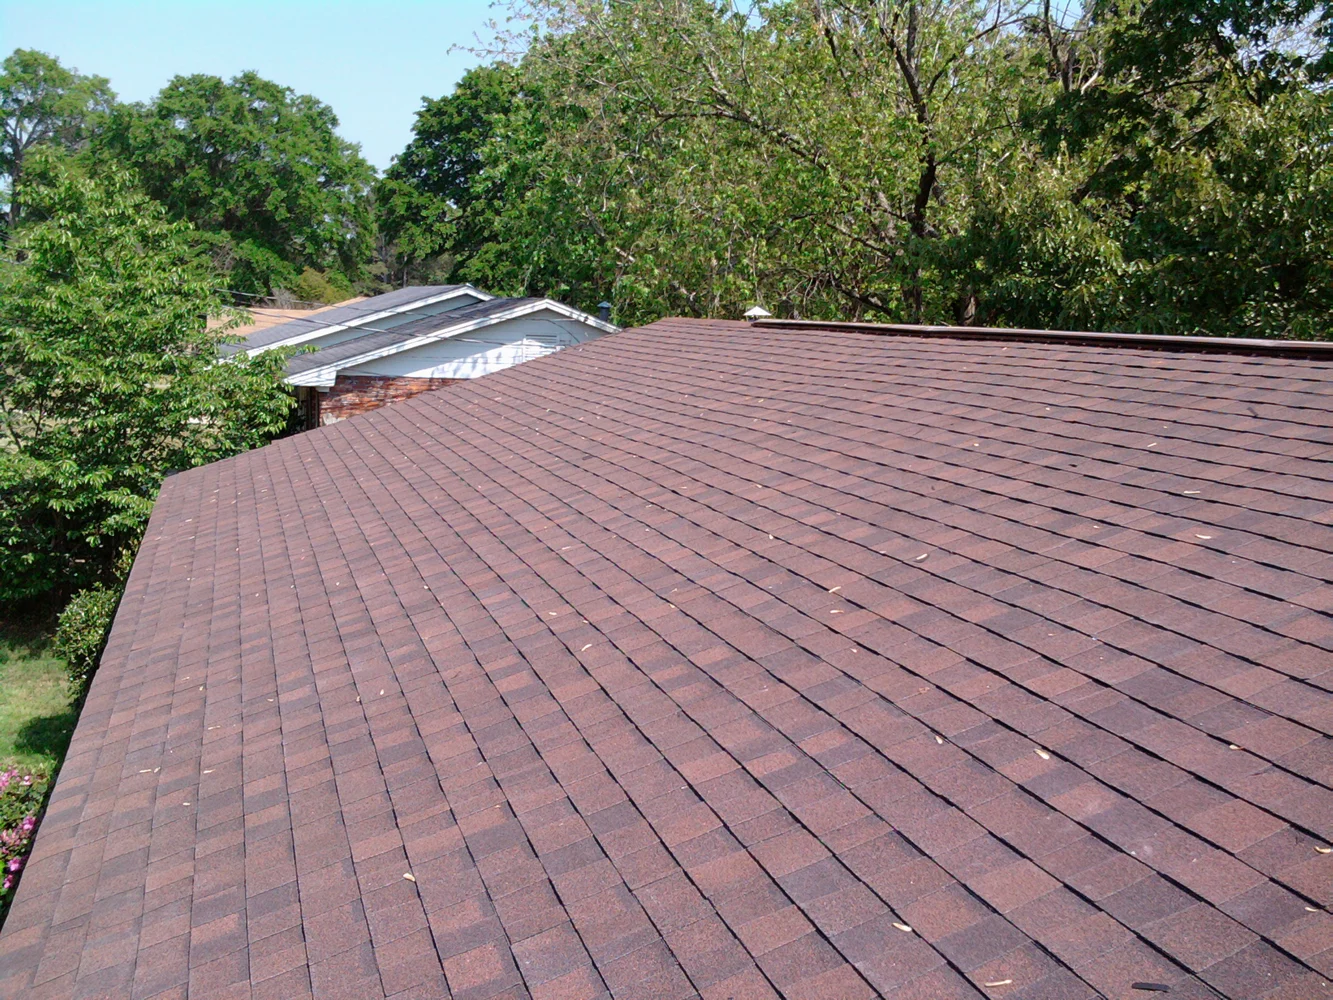
Weather Shielders shingle roofing project
From the Weather Shielders project collection. See more shingle roofing work ↗

LET’S TALK ABOUT YOUR HOME

Better protection starts
with a conversation.

Schedule a consultation Or call 706-405-8869
Call Weather ShieldersGet an estimate ↗